TrickBox
From Vision - Multimedia Education

|
TrickBox toolkitEasy and fast way to make animation videos |
|
What is it ?
This toolkit is an easy opportunity to animate objects or drawings with the help of Stopmotion. Stop Motion is a frequently used technique to animate objects through manipulation. The TrickBox is a fixed place where the “action” takes places. Using the Stopmotion, Objects (3D) or Drawings (2D) can be animated by moving the Object or changing the drawing in every single picture (frame) that is taken. Combined and strung together in a Program (Toonloop) the pictures will become a fluent video. They will become alive. The Objects/Drawings will appear as moving/changing fluently by using at least 10 pictures (frames) per second. The animation can be made with different materials. Due to its consistency, plasticine is frequently used for stop motion animation. But also painted/drawn figures or objects can be moved and variated.
- TrickBox, Stop motion, animation, video
- Linked to the objects
- Categories
What TrickBox ?
Uses:
The TrickBox is a creative and easy way to do media workshops, It combines different kinds of creations to one product. Painted figures can be filmed with a video camera or web-cam and by the help of the Toonloop software you can easily create a nice little animated film. This Trickbox is also suitable for children, it will stimulate their imagination and creativity. And as we all know working with the world of images is a natural part of children's culture.
Video Examples: Animation with plasticine
A short animation made with plasticine. We used the Toonloop Programm. Which is open source and can be downloaded for free[click here to download].
And here you can see more example: [ToonLoop Live animation] [Stop Motion as Performance] [toonloop.com]
Animation with card/material
Animation drawn
Who can use this?
Mainly everybody can use the TrickBox. There is no need of special skills for building it either for using it. Its an very good Tool to use it during media workshops with kids. They can paint and craft like they do it ant home or in school and use that pictures/figures for an own video. The Groups should not be bigger than 4 Kids so everyone can have a task.
Workshop Examples
To implement the TrickBox into a workshop. You have different options. Depending on the age of your participant you can increase the level of complexity.
Workshop with 4 -6 Kids ( 5 to 13 years old) 2 – 3 hours
How to: The Trickbox should be build already, due to the impatience of Young children it is better not to let them wait, but to start with the preparation/creation of the story and the objects or drawing they will need. Show them how the programm work in general so they will have a better understanding of they can realize with it. The kids can think about a story. There fore you could let them do a brainstorming or any other Method you want to use. After that you could divide them into two small groups. One group that is making a storyboard, the other group can prepare the drawings/cards or plasticine.
After finishing all preparations, it is necessary to let them all try the Toonloop first and to explain it in Detail. Take care that every Kid can try everything once. Then they are ready to their own animated video all by themselves. The good thing in Toonloop is, that the kids can see their product immediately. This is a big bonus for the motivation.
Workshop with Youngsters or Adults ( 14 to endless ) 5 – 7 hours
When you are working with older people it is possible to let them build the box themselves. Plus you can insert more complicated ways and stories. For example it is possible to use a green card for the background of the picture instead of white. With that you will have the possibility to use the Chroma Key to delete all green colors in the picture and then to add another Background e.g. a Landscape. You will have thousand of ways to create also a nice surrounding for your story.
How to build it ?
What do I Need ?
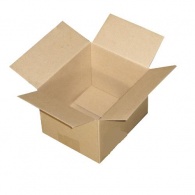
The material that you need for building a Trickbox is not much. We used the cheapest equipment to make this tool more accessable for everybody. To realise an own animation you need Hardware and software.
| 
| 
| 
| 
| 
| 
| 
|
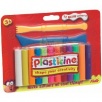
| Paper box | 2 Brackets | 2 lamps | Plasticine | Double face tape | Duct tape | Paper | Webcam |
How to do it ?
First you need to build the box! Then to connect the cam with the Computer and start the Software. Read below the single steps.
Step 1 Step 2
| 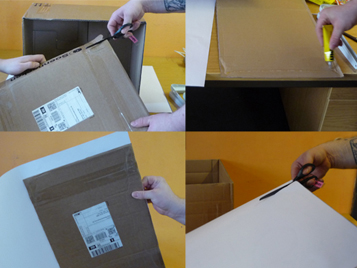 |
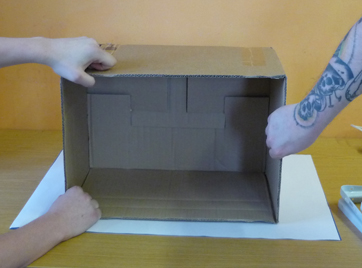
| Make yourself some space. The cardbox we used was 33*28*45 cm. | Take another piece of card and stick white paper on it. This will be the backside and the floor of the box. It also stabilizes the box. |
Step 3
| 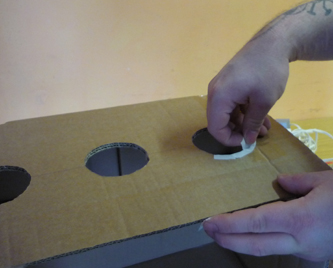 |
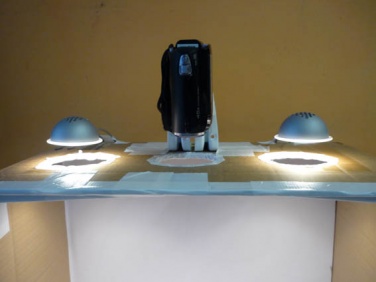
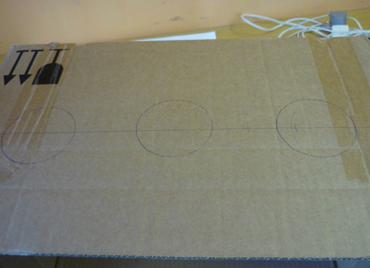
| Draw 3 circles on the top of the box and Cut them out. | The both outside will be the wholes for the lights, the one in the middle will be for the camera. |
Step 4
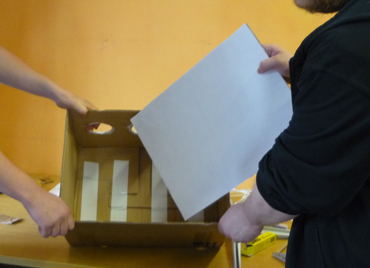
| 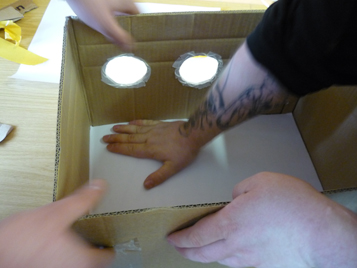 |
| Take the card with the white paper you prepared before. | And glue the paper on the bottom of the box. The best is to use doublefaced adhesive tape.. |
Step 5
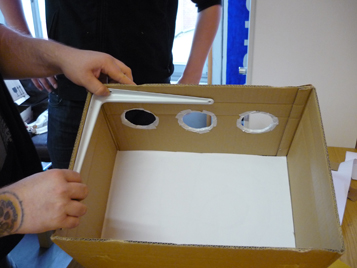
| 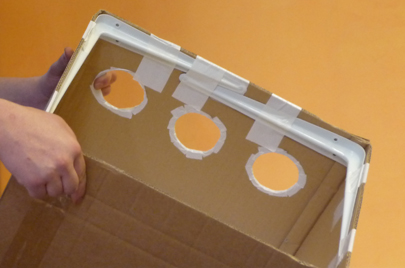 |
| Now you have to stabilize your Box. | Therefore you tape the 2 big metal angles into the front corners. |
Step 6
| 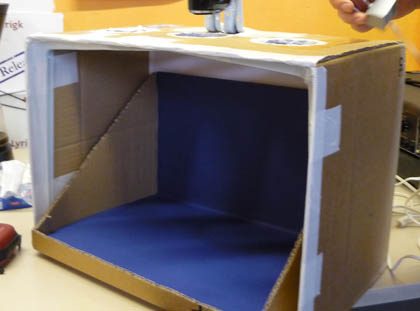 |
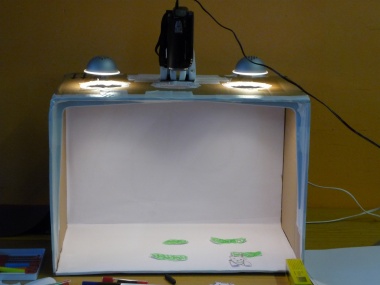
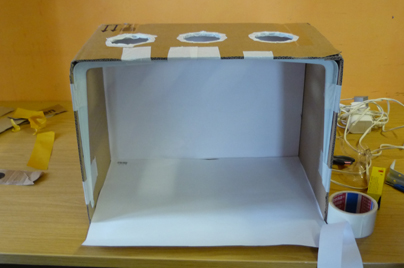
| Now you have the rough body of the box. For inside of the box you can also stick white paper or aluminium foil on the other walls. | You can also paint outside of the box to make it look a little nicer. |
Step 7
| 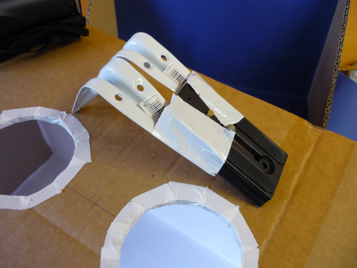 |
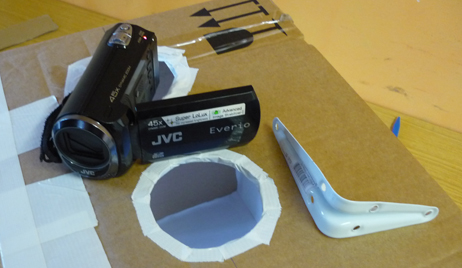
| To fix the Camera on the top of the Box you can also use Duct Tape. If it is a web-cam that you are using it will be very easy. | For this camera we sticked another small metal angle to fix it. |
Step 8
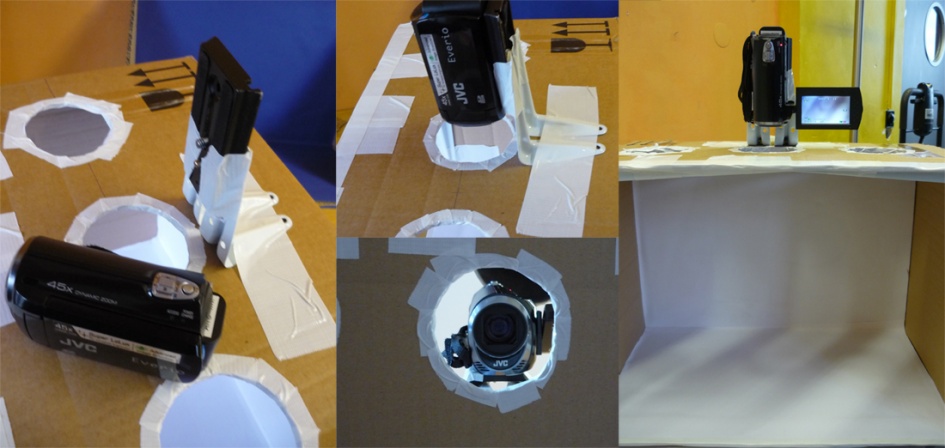
|
| This is how it is suppose to be. The cam films through the hole so it can see the bottom of the box. |
Step 9 Step 10
Step 11
When the Cam is connected and recognized by the computer.
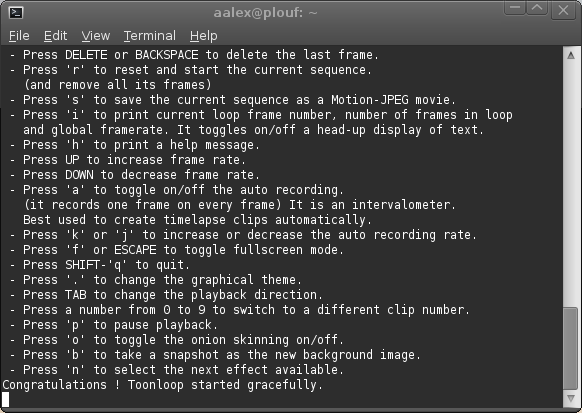
You can start the Toonloop program. Therefore you will need to download it here . To download and use it doesn't cost anything.
Step 12
Video tutorial
Start the Program. On the left side on your screen it will show you the picture that your cam records from the bottom of you box. If you press the “space bar” it will make a “photo”. And automatically this will be the first frame of your animation. This will be shown in the right side of the screen. You can move the Object and press the space bar again, the you will have the second “frame” (photo) of your video. The first movement happened. The program now shows you the frames you took in a loop, so you can immediately see your product so far. And you go on like that.
Have a look at this explaning video!
ENJOY
